In the pursuit of ideal oral health, the cleanliness of our toothbrushes, the very tools we use to maintain our dental hygiene, is often overlooked. It’s essential to ask – are we unknowingly introducing more harm than good during our daily brushing routine? This question warrants an exploration into best practices for toothbrush hygiene, from post-use rinsing techniques, to deep cleaning methods, and even the science behind UV sanitizers. Additionally, we will discuss the significance of safe storage practices and timely toothbrush replacement, and the potential dangers of cross-contamination.
Understanding Toothbrush Hygiene
Regularly, we tend to overlook the importance of maintaining the cleanliness of our toothbrushes. This vital aspect of oral hygiene is often neglected, despite its direct impact on our dental health. Toothbrush hygiene is not just about how often you replace your toothbrush, but also about understanding the materials your toothbrush is made from and the types of bristles it has.
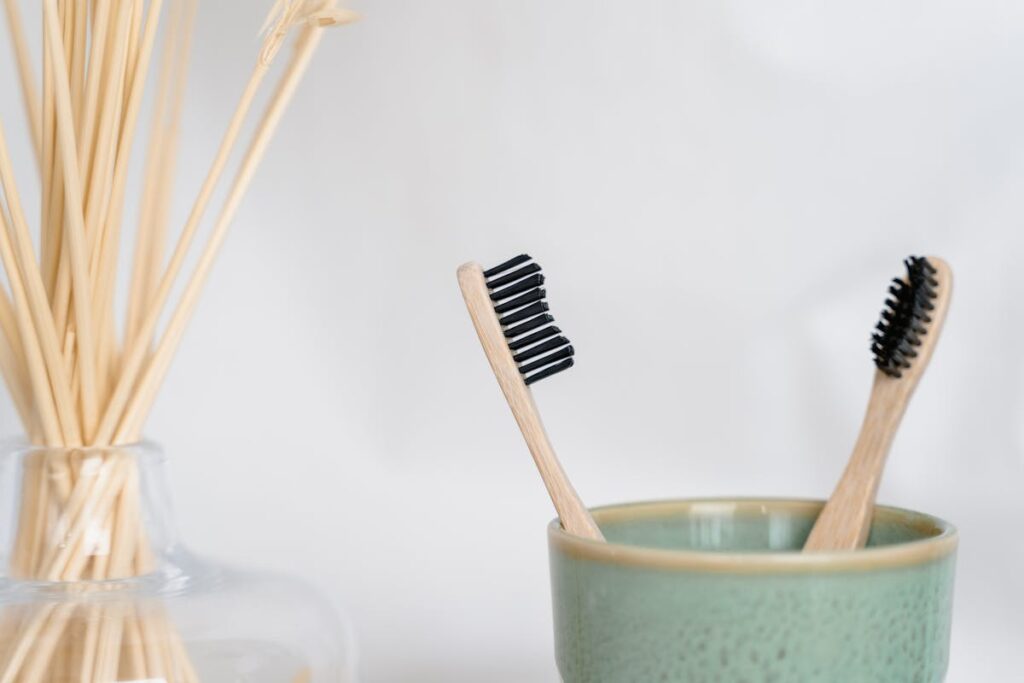
Toothbrush materials can range from plastic to bamboo, each with its unique care requirements. Plastic toothbrushes, for instance, may require more rigorous cleaning compared to their bamboo counterparts due to their tendency to harbor bacteria. On the other hand, bamboo toothbrushes may require more careful handling to prevent mold growth.
Bristle types also play a vital role in toothbrush hygiene. Soft bristles are generally recommended by dentists as they are less likely to damage the gums. However, they may also require more frequent replacement as they tend to wear out faster. Meanwhile, medium to hard bristles can last longer but may pose a risk to sensitive gums if not used properly.
Understanding these variables and their implications on toothbrush hygiene is essential in maintaining peak oral health.
Regular Rinse After Use
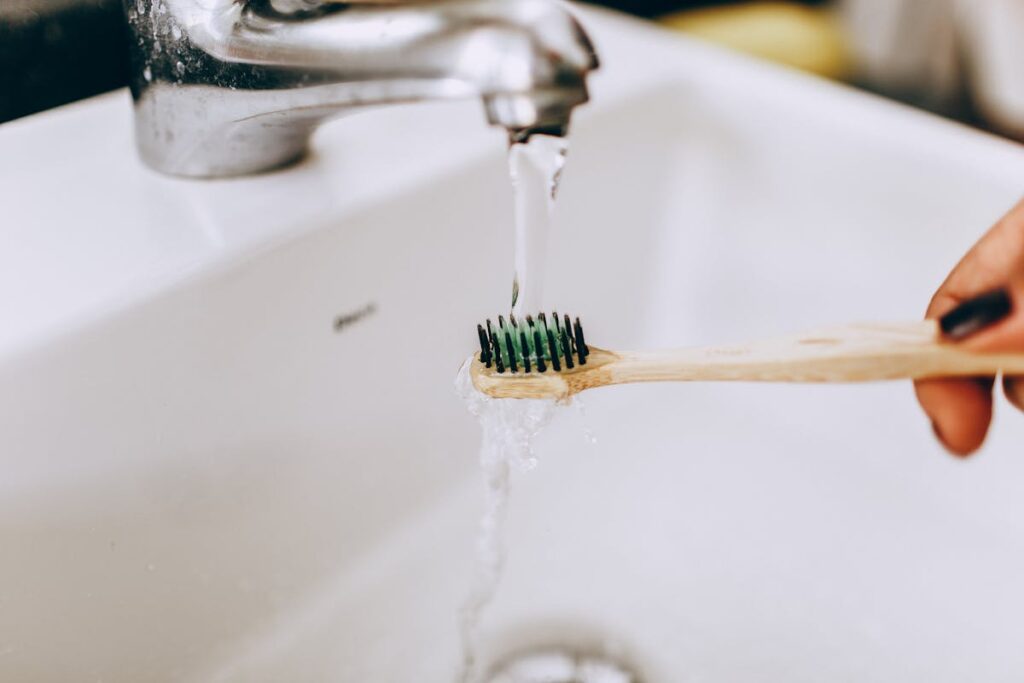
Guaranteeing ideal toothbrush hygiene necessitates a consistent rinse after every use. This rinse should be thorough, expelling any leftover toothpaste or debris lodged between the bristles. This is vital as it not only maintains the cleanliness of the toothbrush but also prolongs its lifespan. The rinse process also plays a role in the overall oral hygiene routine, as it limits the buildup of bacteria on the toothbrush.
The importance of this regular rinse cannot be understated, regardless of the toothbrush materials. Whether your toothbrush is made of nylon, bamboo, or any other material, a regular rinse is essential. It is important to note that different materials may require different care. However, a regular rinse after every use should be a universal practice.
The cleaning frequency is tied to the usage frequency. Ideally, your toothbrush should be rinsed every time it is used, which should be at least twice a day. This frequency guarantees that your toothbrush is clean and ready for the next use. After rinsing, it is advisable to let the toothbrush air-dry in an upright position, which allows the bristles to dry thoroughly and prevents bacterial growth. Regular rinsing is a simple yet vital step in toothbrush hygiene.
Deep Cleaning Methods
Moving beyond the routine rinse, deep cleaning your toothbrush is an essential step towards ideal oral hygiene. This process involves leveraging natural cleaners and alternative methods to thoroughly purge your toothbrush of bacteria, germs, and residual toothpaste.
One popular method is soaking your toothbrush in an antibacterial mouthwash or hydrogen peroxide solution. For this, mix equal parts water and 3% hydrogen peroxide, then immerse your toothbrush for about 15 minutes. Rinse thoroughly afterwards to guarantee no residue remains.
Alternatively, vinegar, a potent natural cleaner, can also be employed. Simply soak your toothbrush overnight in white distilled vinegar, then rinse well in the morning. This method is especially beneficial for people seeking environmentally-friendly cleaning options.
Another option is baking soda. Mix two teaspoons of baking soda in a cup of water, then soak your toothbrush in this solution overnight. Baking soda not only cleans but also neutralizes odors, leaving your toothbrush fresh.
The Power of UV Sanitizers
UV sanitizers bring a new level of cleanliness to your oral hygiene routine, offering significant benefits for toothbrush maintenance. Achieving ideal results, however, requires an understanding of proper usage techniques. In the following, we will explore these benefits and provide a detailed guide on how to use UV sanitizers effectively for toothbrush cleaning.
UV Sanitizers Benefits
Harnessing the potential of invisible light, UV sanitizers have emerged as powerful allies in maintaining oral hygiene. The UV sanitizer effectiveness in killing harmful bacteria that accumulate on toothbrushes is unrivaled. These devices utilize UV-C light, a specific wavelength of ultraviolet light known for its germicidal properties. By penetrating the cell walls of microorganisms, it disrupts their DNA, rendering them incapable of reproducing and ultimately leading to their death.
The benefits of UV sanitizers extend beyond superior cleaning capacities. They offer a convenient and efficient method of sanitization, typically completing the process within minutes. This eliminates the need for chemical cleaning agents, which can leave residues and potentially harmful substances behind.
Concerning UV light safety, the sanitizers are designed with user protection in mind. The UV light is contained within the device, ensuring no direct exposure to the user. Additionally, many models feature automatic shut-off functions when opened, further enhancing safety.
Using UV Sanitizers Properly
To maximize the effectiveness of a UV sanitizer, it is crucial to use it correctly. UV sanitizers harness the power of ultraviolet light, a type of electromagnetic radiation, to annihilate bacteria, viruses, and other detrimental microorganisms that may reside on your toothbrush. The UV light disrupts the DNA of these microorganisms, preventing them from reproducing and effectively killing them.
However, for this method to be effective, the toothbrush needs to be positioned properly within the sanitizer. The bristles should face the UV light source to guarantee the light can reach into the crevices where bacteria often hide. Additionally, the toothbrush should be dry before placing it in the sanitizer, as water droplets may block the UV light and reduce its effectiveness.
UV light safety is another important aspect to take into account when using a UV sanitizer. Avoid exposing your skin or eyes directly to the UV light, as it can cause harm. Most sanitizers come with secure closures to prevent accidental exposure. Furthermore, it is vital to keep the device clean. Regularly wipe the interior with a clean, dry cloth to remove any dust or residue that might interfere with the UV light’s effectiveness. Finally, remember that while UV sanitizers can drastically reduce bacteria on your toothbrush, they should be used as a supplement to, not a substitute for, regular rinsing and air drying.

Safe Storage Practices
In the domain of oral hygiene, the safe storage of your toothbrush plays an essential role in maintaining its cleanliness and effectiveness. Toothbrush holders are an excellent tool to keep your brush upright, preventing it from touching potentially contaminated surfaces. However, it’s vital to select a holder that allows for proper aeration and moisture control, as a damp environment can breed bacteria, compromising the cleanliness of your toothbrush.
Avoid sealing your toothbrush in containers or covers, as these can trap humidity, providing a breeding ground for microorganisms. Instead, opt for holders with open designs that allow air flow, facilitating the drying process and inhibiting bacterial growth.
Additionally, it’s important to clean your toothbrush holder regularly, as it can become a reservoir of germs over time. A weekly cleanse with warm, soapy water is typically sufficient to keep it hygienic.
Lastly, remember to store your toothbrush away from toilets or sinks to avoid splash contamination. A distance of at least six feet is recommended.
When to Replace Your Toothbrush
Following a recommended timeline for replacing your toothbrush can greatly contribute to maintaining ideal oral health. A toothbrush lifespan typically lasts three to four months, but various signs can indicate when a replacement is due sooner.
- Frayed Bristles: Over time, bristles can become frayed and worn out. This not only reduces the toothbrush’s effectiveness but also can harbor harmful bacteria. If you notice your bristles are no longer straight and firm, it’s time for a replacement.
- Illness: If you’ve recently suffered from a cold, flu, or oral infection, it’s advised to replace your toothbrush. It can retain germs and potentially lead to reinfection.
- Toothbrush Age: As a rule of thumb, replace your toothbrush every three to four months. This guarantees you’re always using a toothbrush that is in good condition and most effective for cleaning your teeth.
Avoiding Cross-Contamination
Guaranteeing sanitary conditions for your toothbrush is paramount in maintaining ideal oral health. A key aspect of this is avoiding cross-contamination, a common problem that can lead to the accumulation of toothbrush bacteria. Cross-contamination occurs when microorganisms are transferred from one toothbrush to another, often by contact or close proximity.
For instance, storing your toothbrush in the same cup or holder with other toothbrushes can lead to the transfer of bacteria. Similarly, if your toothbrush touches another person’s toothbrush, this can result in cross-contamination. To prevent this, always guarantee your toothbrush is stored in a separate holder and does not come into contact with other toothbrushes.
In addition, it is essential to use disinfecting solutions to kill any bacteria present on your toothbrush. These solutions can be found in most supermarkets or pharmacies. Simply soak your toothbrush in the solution for a few minutes, then rinse thoroughly under clean water. This step should be performed at least once a week to guarantee your toothbrush remains bacteria-free.
Frequently Asked Questions
Can I Clean My Toothbrush by Putting It in the Dishwasher?
While it’s technically possible to clean your toothbrush in a dishwasher, it’s not recommended due to potential damage to the toothbrush materials and inappropriate dishwasher settings that may not effectively sanitize the bristles.
Does Toothpaste Residue on a Toothbrush Attract Harmful Bacteria?
Yes, toothpaste residue can indeed foster bacteria growth on a toothbrush. Consequently, maintaining toothbrush hygiene by thoroughly rinsing it after use helps eliminate residue and curbs potential bacterial accumulation, promoting oral health.
Can a Toothbrush Be Disinfected Using Home Remedies Like Vinegar?
Yes, a vinegar solution is an effective home remedy for disinfecting a toothbrush. Soaking the toothbrush in vinegar for 30 minutes can kill most bacteria. However, this should not replace regular toothbrush replacement.
Is It Safe to Share a Toothbrush With My Spouse or Children?
Toothbrush sharing, even between family members, isn’t advisable due to hygiene practices. It can lead to the transfer of bacteria and potential infections. Each person should have their own toothbrush to maintain ideal oral health.
What Are the Effects of Using a Dirty or Contaminated Toothbrush on Oral Health?
Using a dirty or contaminated toothbrush can introduce harmful bacteria into your mouth, potentially leading to oral infections, tooth decay, gum diseases, and bad breath. Regular cleaning and replacement of toothbrushes are essential for maintaining oral health.
